Invoices Page
Invoices you create are all managed from the Invoices page. Here you can create, view and send invoices as well as amend the activities that will be included and void any invoices if needed.
The following flow chart shows the possible states that an invoice could have and how it flows between different states
Initial Invoice
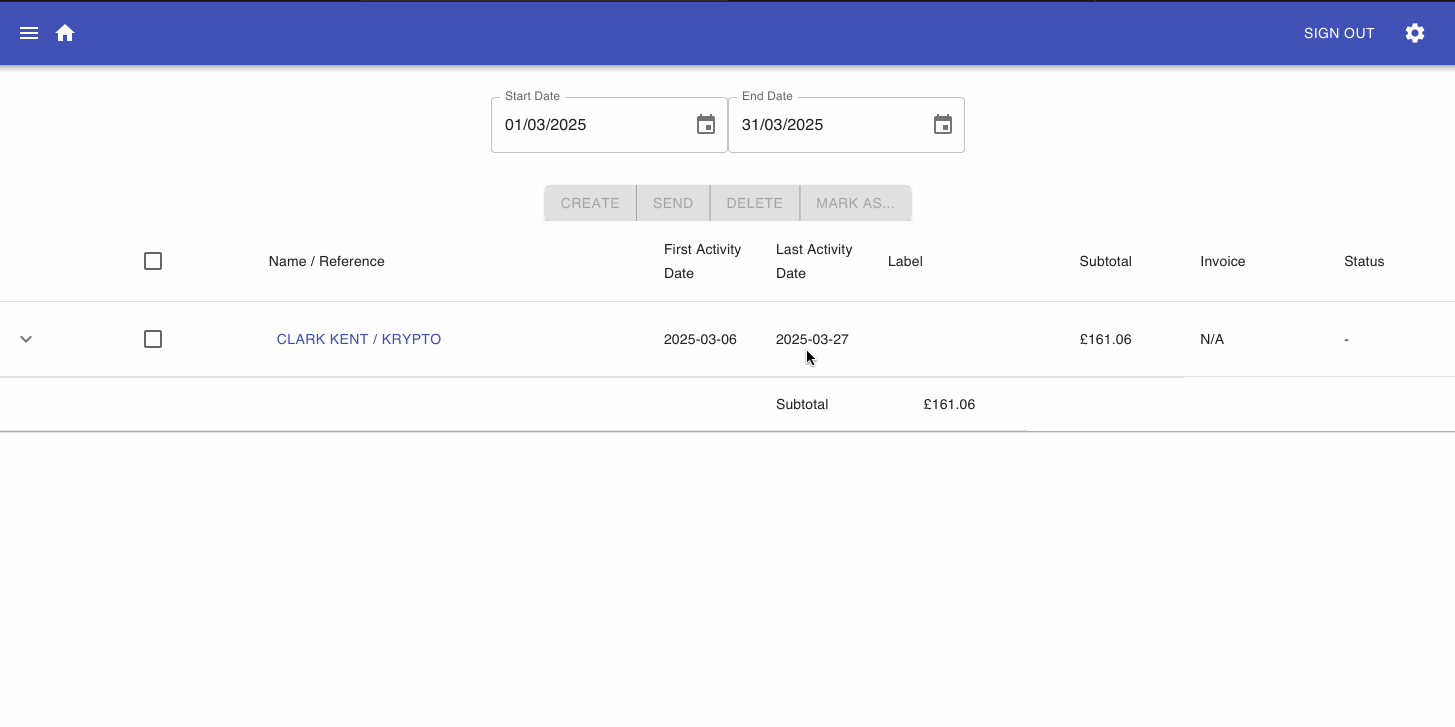
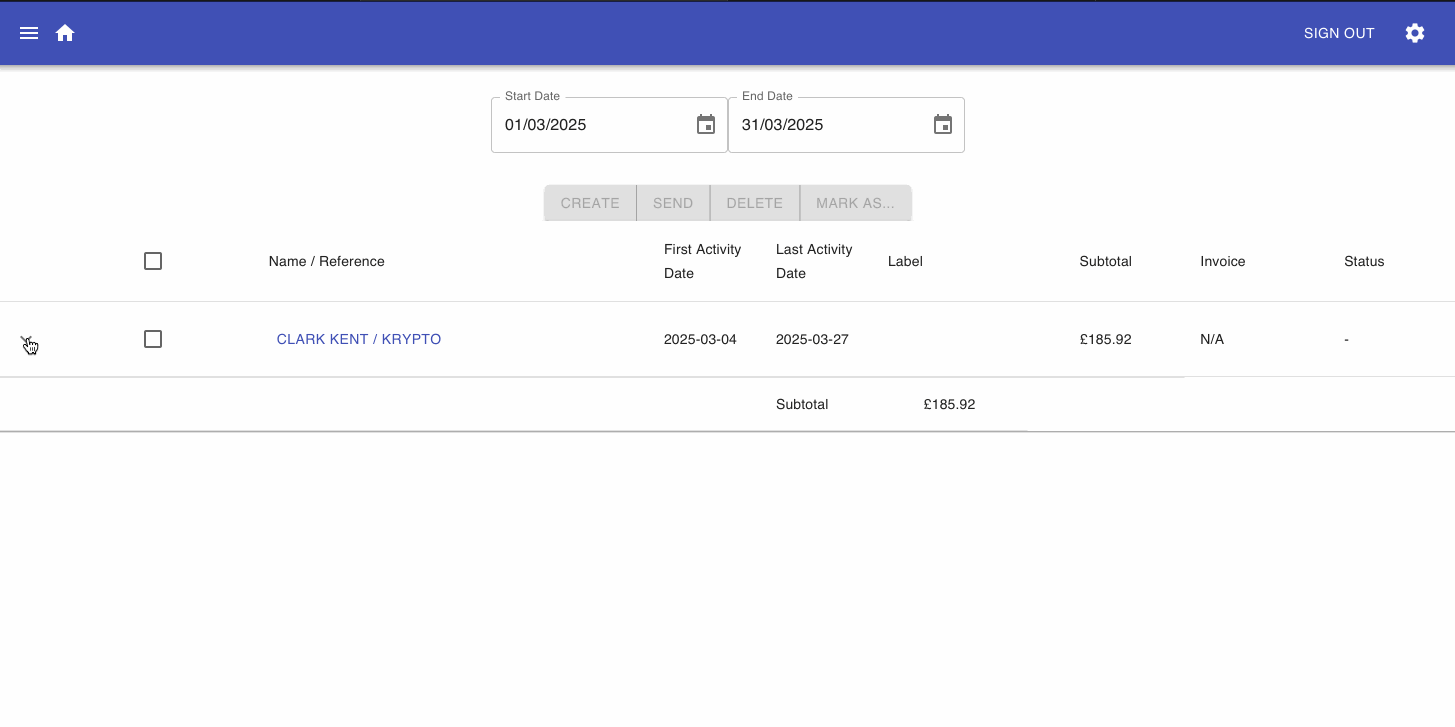
As you add activities to a client they will show on the Invoices page under an entry for that client. Only activities that are within the dates selected will be shown. Change the dates in the Start Date and End Date pickers to change the dates that the invoices will cover.
Altering Activities
From the invoice table you can expand an invoice to view what activities will be included. Here you can remove activities or edit individual items:
Creating an Invoice
Once you are happy with the activities covered by an invoice:
- Select the tick box for the invoice(s), you can select as many invoices as you are ready to create
- Click the Create button
- Enter a label for the invoice, a label helps you to distinguish what or when an invoice is for. It defaults to the month in which you are creating the invoice a. If you don't want a label select No b. Otherwise select Yes
- The invoice will then move to the Creating state and then Created
You can now view the PDF of the invoice that will be sent to your client by selecting the link in the Invoice column for the invoice you have just created. It will download the file to your device.
Once an invoice has been created you are unable to edit any of the activities or the information on the invoice. To make changes you must delete the invoice.
Delete an Invoice
At this point if you need to make any changes you are able to delete an invoice. This will remove the PDF file that was created and make all the activities available for editing.
To delete the invoice:
- Select the tick box for the invoice you need to make changes to
- Click the Delete button
- At the confirmation dialog, confirm whether you want to delete it or not
Send an Invoice
Once an invoice has been created you are then able to send it to the client.
- Select the invoice(s) you wish to send, you can select as many invoices as you are ready to send
- Click the Send button
- A dialog will ask you what text you would like to include in the email that will be sent with the invoice. The text that initially appears is what you have set in your Settings email template. The text entered here will be used for sending all the invoices that you have selected.
- Confirm the email text
You invoices will now be sent to the email address associated with each client for that invoice.
If you wish to send an invoice yourself you can download the invoice and then manually update the state of an invoice to show it as Sent
- Select the invoice(s) your wish to show as Sent
- Click the Mark As... button and select Sent
Void an Invoice
After you have sent an invoice, if you need to amend anything you will need to void the invoice before you can make changes and re-create it.
- Select the invoice(s) your wish to void
- Click the Mark As... button and select Void
- A dialog will ask you what text you would like to include in the email that will be sent with the invoice. The text that initially appears is what you have set in your Settings email template. The text entered here will be used for sending all the invoices that you have selected.
- Confirm the email text
The invoice will now be marked as void and a copy sent to the client. All the activities from that invoice will then be available for editing and including in a new invoice.
Marking an Invoice as Paid
Once a client has paid you for the invoice they received you are able to change the invoice state to Paid so you know you can track which invoices are still outstanding.
- Select the invoice(s) your wish to show as Paid
- Click the Mark As... button and select Paid