Getting Started
Welcome to Simple Invoicing! To get your first invoice sent follow the guide below. For more information about any part of the application follow the links or view our documentation.
Log In
After you have signed up and confirmed your email address you will be able to log in using the email and password combination you set.
Settings
To be able to create invoices you must first provide some details on the Settings page: your company details; bank details and mileage charge.
-
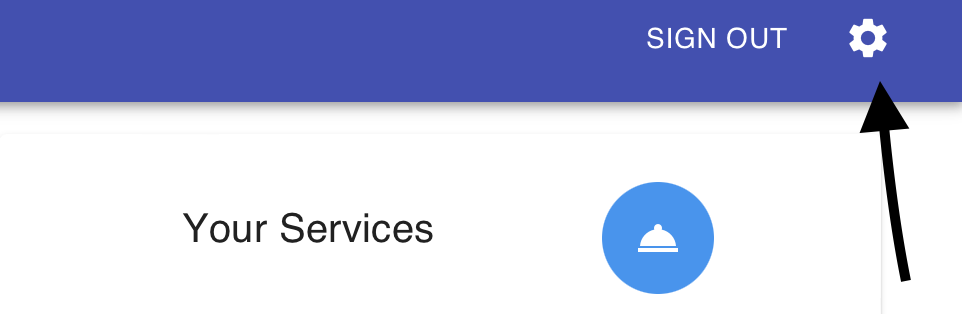
Navigate to the Settings page
-
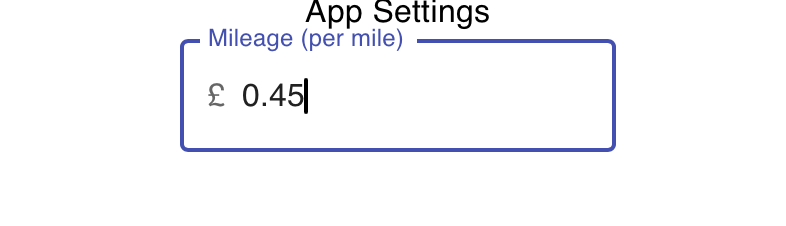
Add the rate you charge for mileage
-
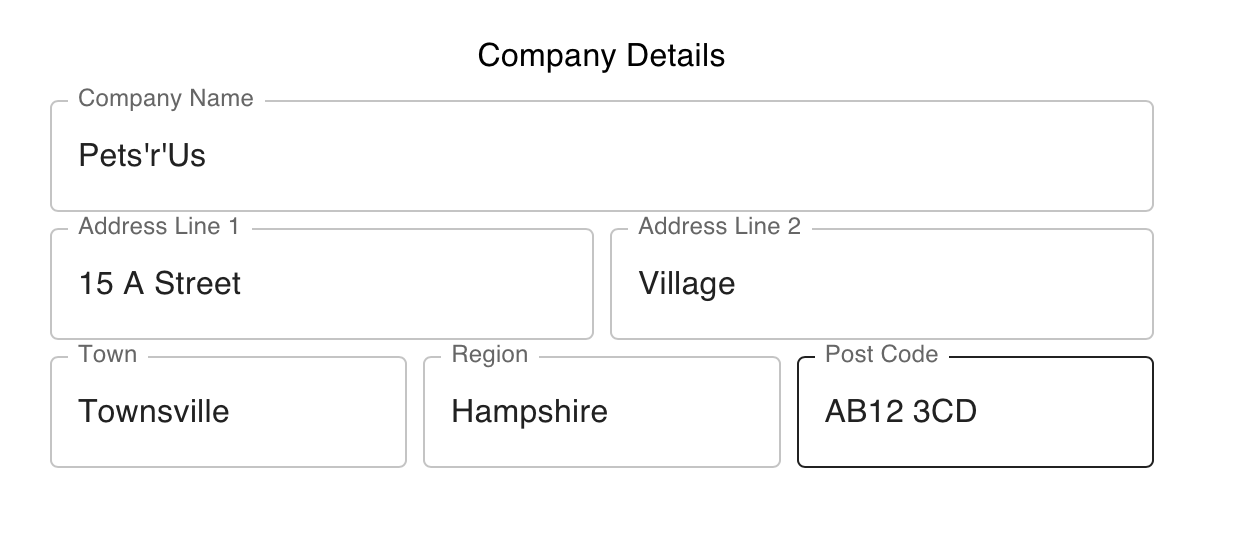
Set the following Company Details
-
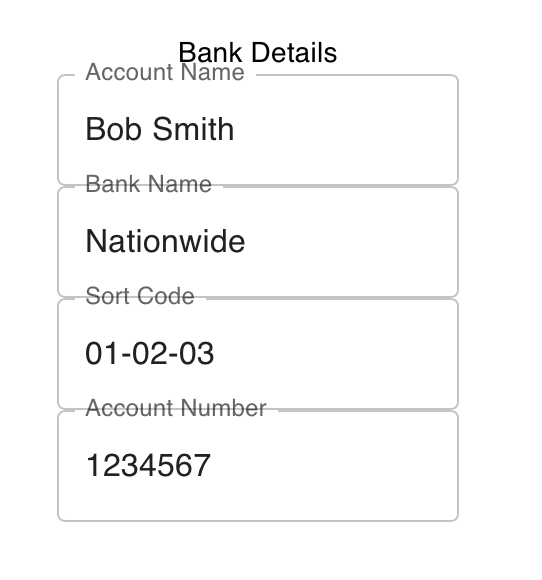
Add your bank details for payments
-
Add the E-Mail address you want your invoices to come from.
That's all your required settings done.
For details on all the available settings visit: Settings
Add a Client
A Client is someone you do something for, e.g. feed their cat, walk their dog etc. Add their contact details to send them invoices. You will then be able to track all clients on the 'Client page'.
-
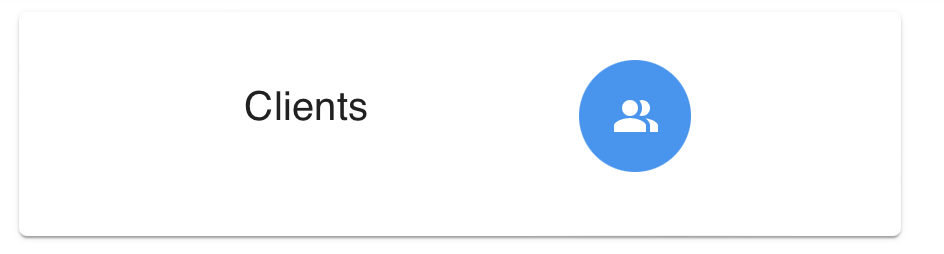
From the home screen, select Clients
-
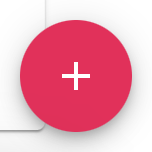
Click the Add Client + button
-
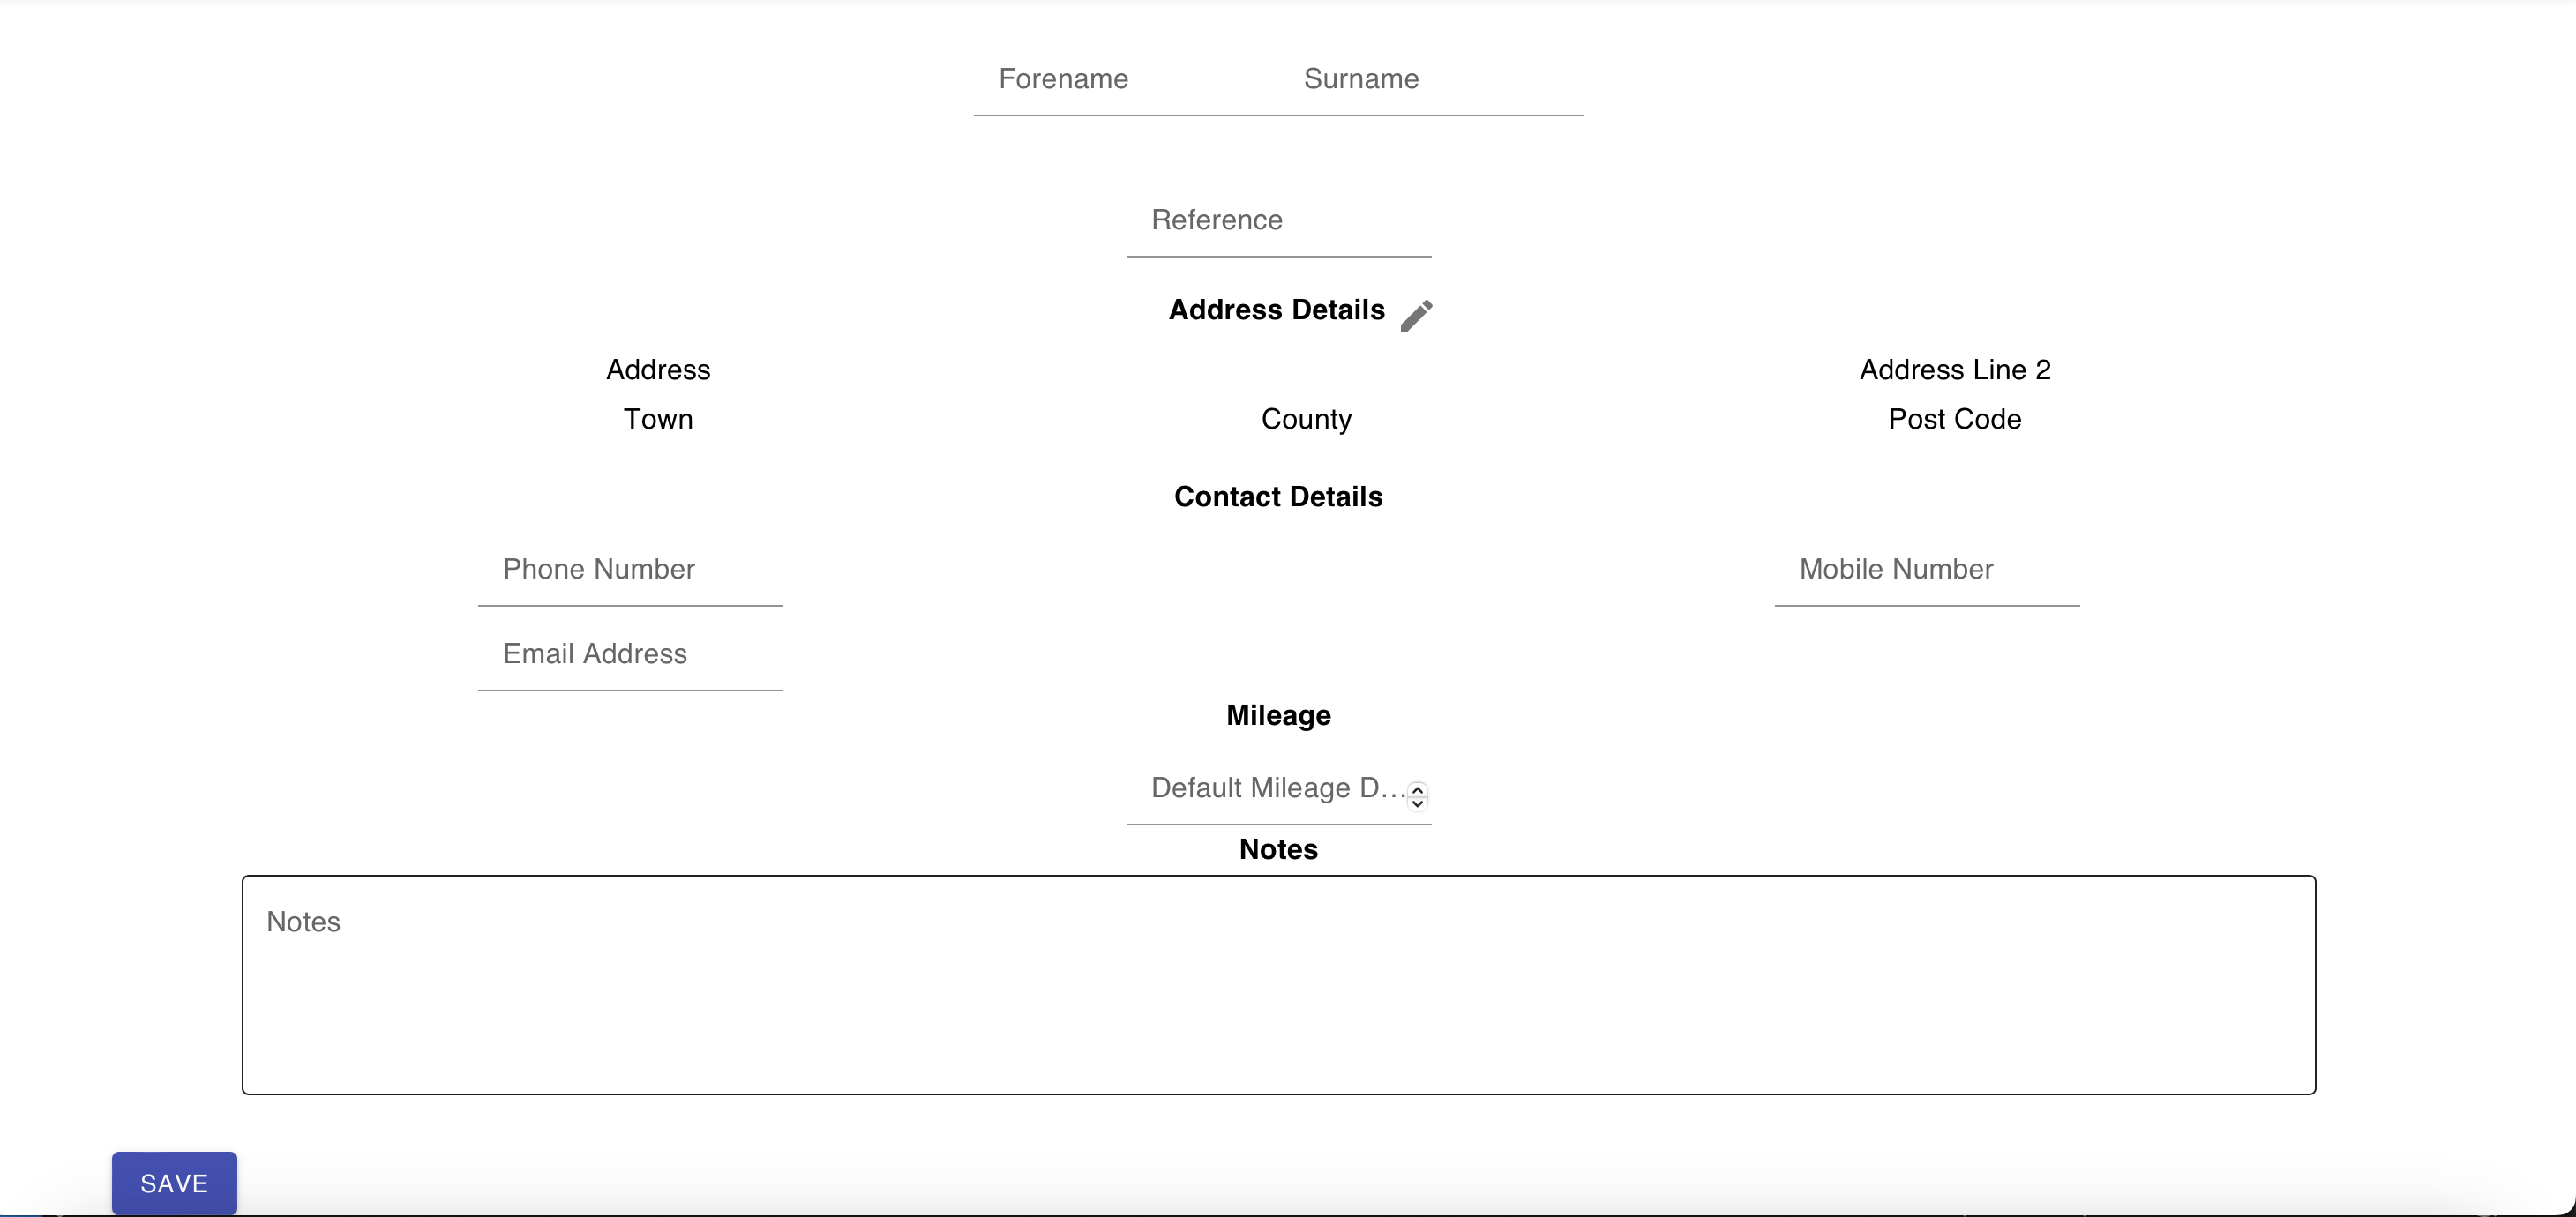
Fill in all the information about the client (Note: You will add pets later)
-
Save it by clicking the Save button
For details on all the available information on the client page visit: Clients
Create A Type of Service
A service is something to bill your clients for, e.g. Dog Walk, Cat Sitting etc.
-
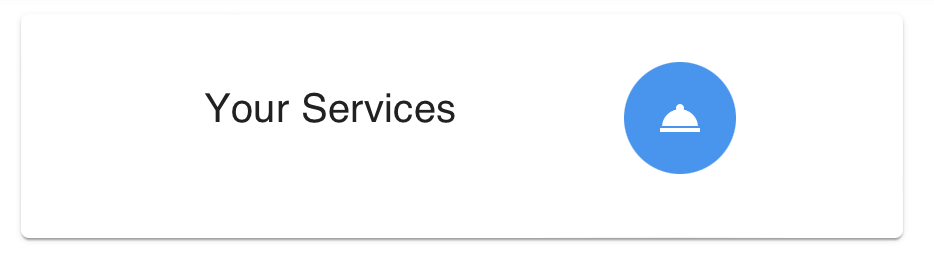
From the home screen, select Your Services
-
Click the Add Service + button
-
Enter the service description, type and cost. The type helps you group your services together, for example "Home Visit" or Dog Walk where you may then have group dog walks or 1-2-1 walks which have different prices.

-
Save it by pressing the Save icon

For more information on managing your services visit: Services
Add an Activity to a Client
Now you've got a client and your services we're going to tie them together, this is an Activity. This example is just a single time that you've provided a service, for more details, especially recurring activities, then visit our how-to guide; Record Providing a Service
-
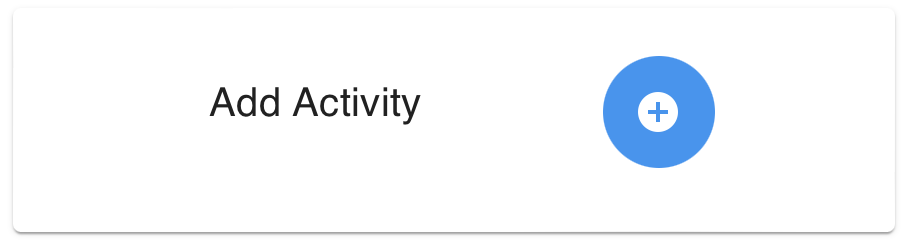
From the home screen go to Add Activity
-
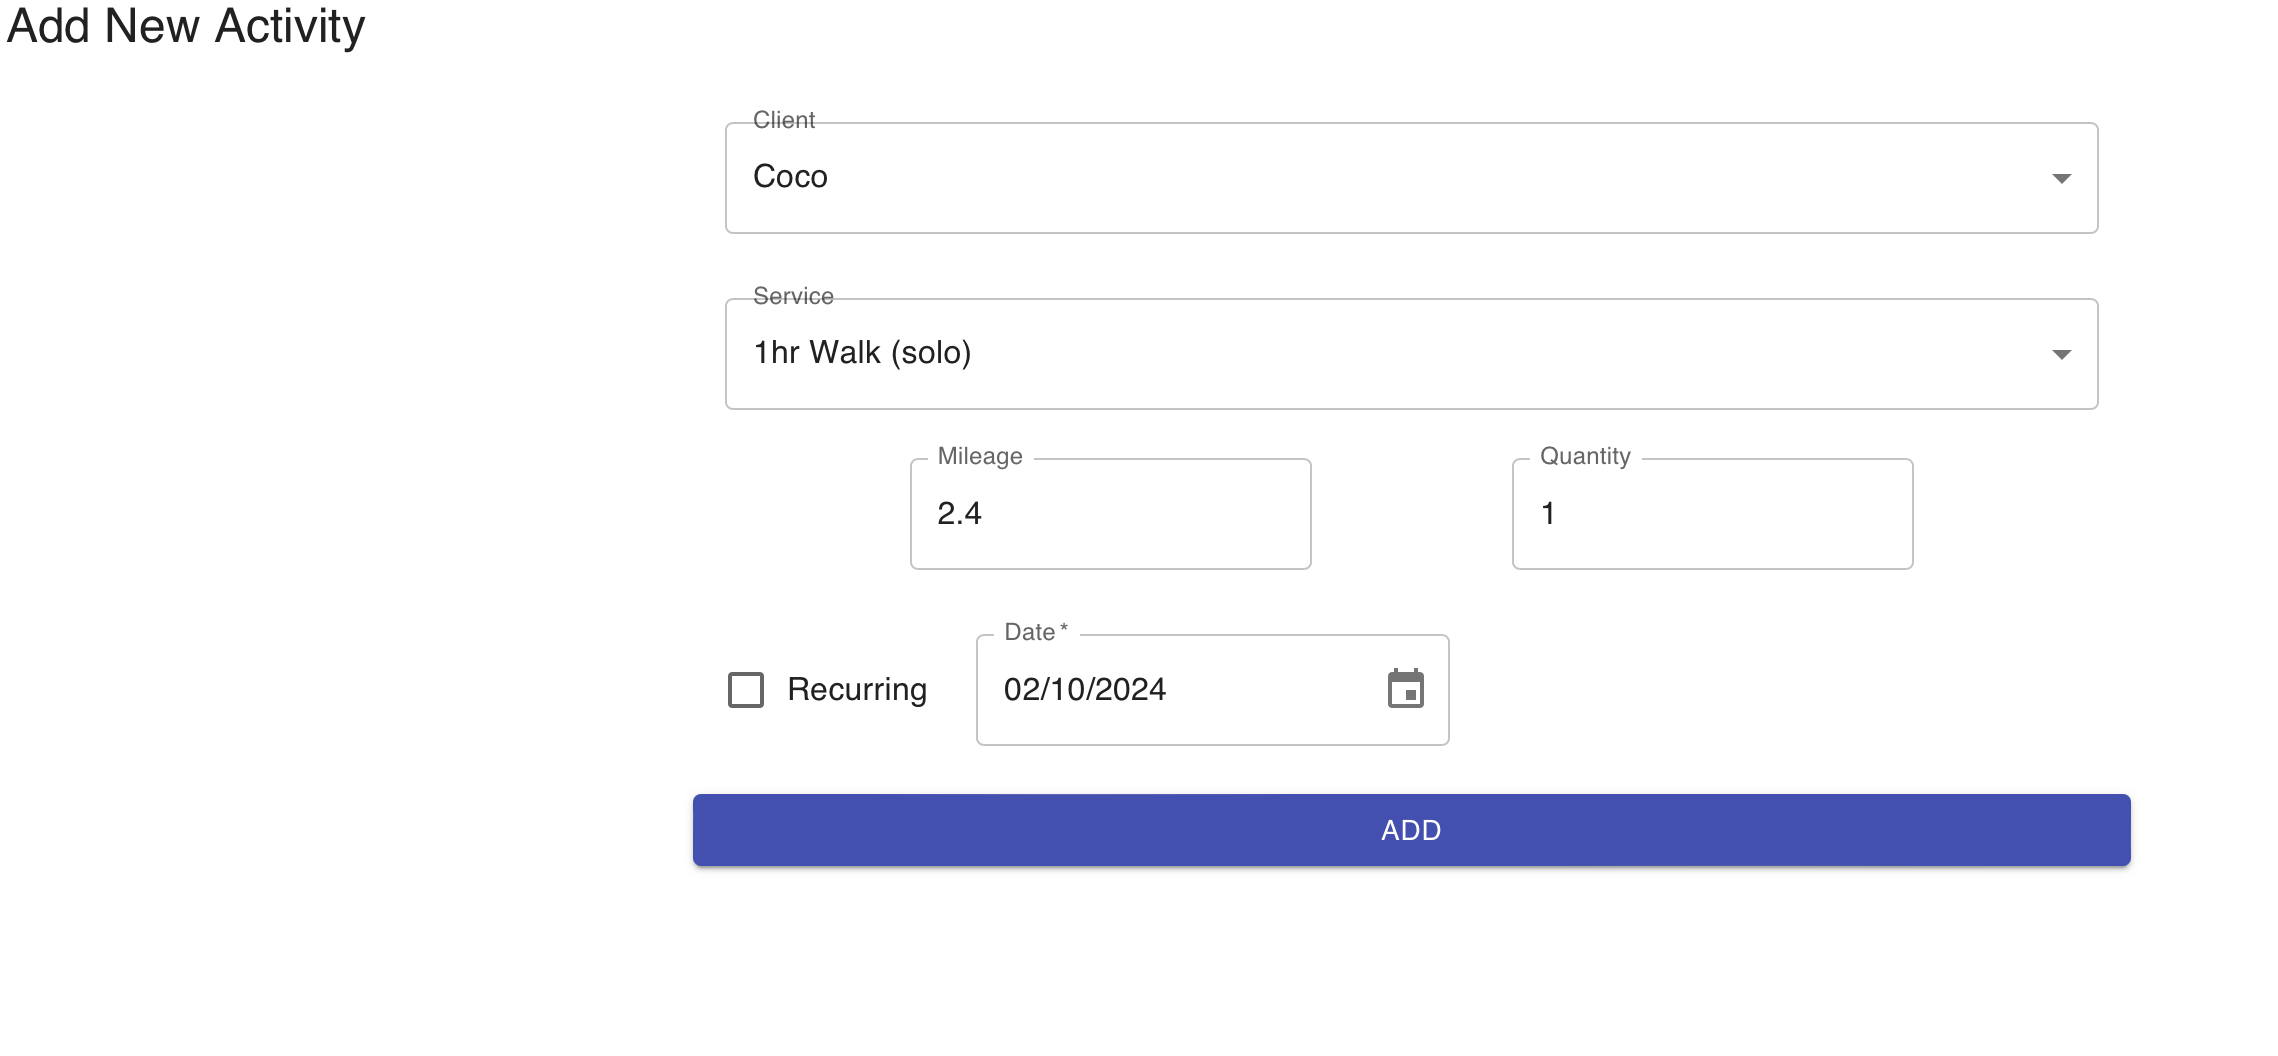
Select the Client from the drop down
-
Select the Service that you've provided
-
Select the date
-
Press ADD
Creating Your First Invoice
All the activities you added are ready to go into an Invoice, the next steps take you through creating and sending an invoice. For more information on managing invoices visit Invoicing
-
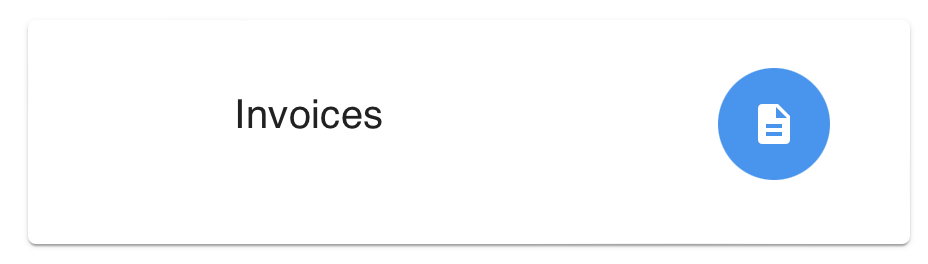
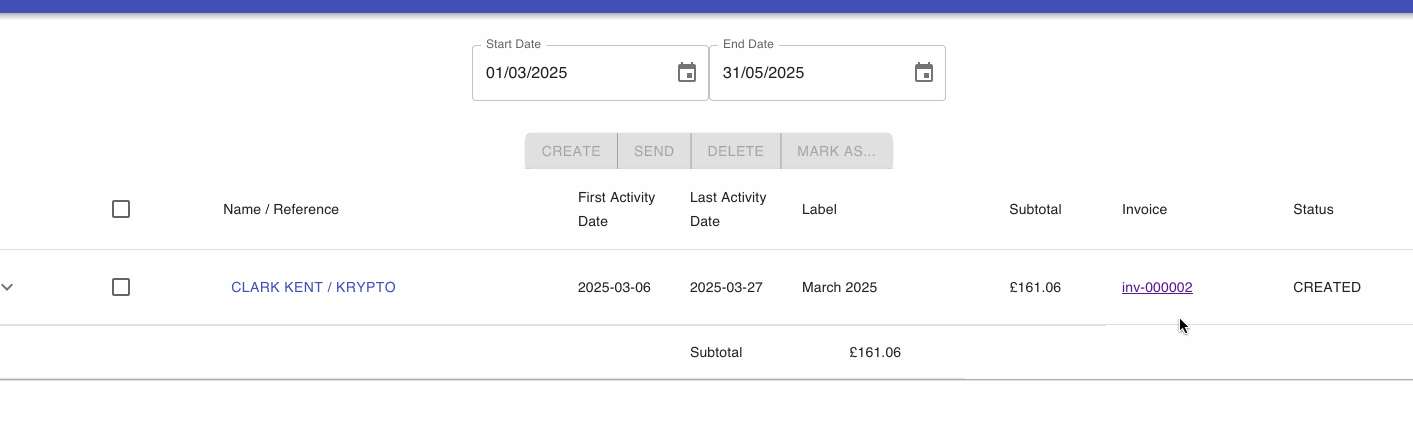
From the home screen go to Invoices
-
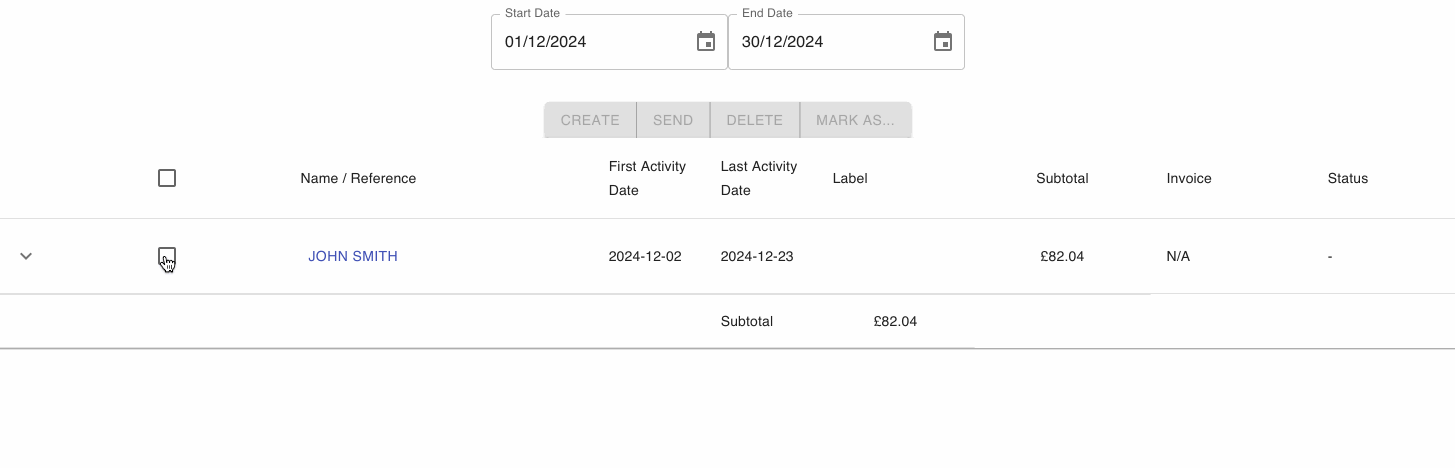
Select a date range that the activities you've provided fall into. The invoice will include all activities within the date range, you can have a whole month, multiple months, or just a few days to include just the activities you want.
-
View the activities that are going to be included in the invoice

-
Create the invoice but selecting the invoice, and pressing Create
-
The invoice status will change to Creating and then Created
-
View the invoice by clicking the link
-
You can now send the invoice, select it and press Send, the status will change to Sending and then Sent
Congratulations! You've sent your first invoice!